2 Getting Access to Excel
This section contains detailed descriptions on how to get access to Microsoft Excel. You can skip this section if you already have access to Microsoft Excel or if you already know how to access it.
2.1 Installing Microsoft Excel
Video guide
Below is a video guide (without sound) on installing Microsoft Excel. You can skip this video if you prefer following the step-by-step guide below.
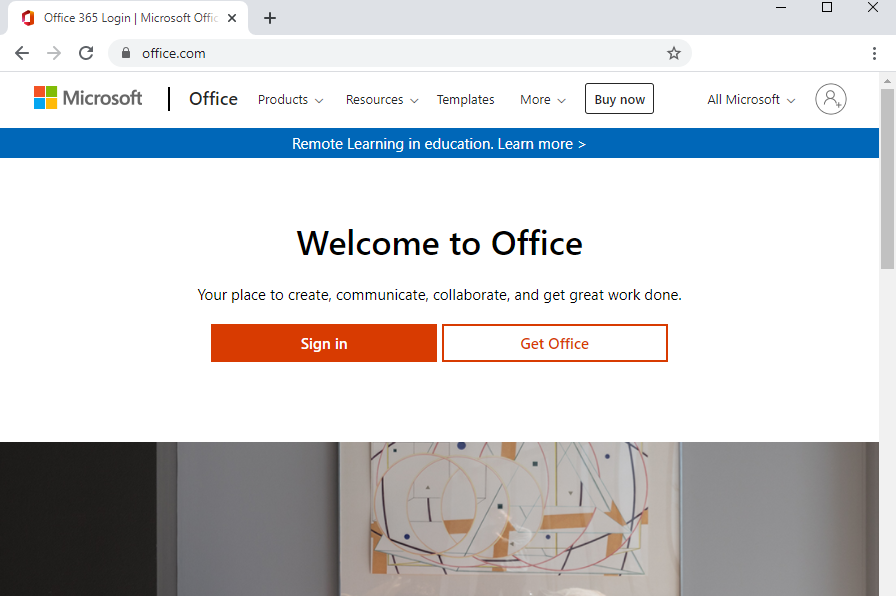
Note: You can skip the section from 1:30 to 5:40 where Office is installed.Step 1: Go to office.com
Go to www.office.com using a browser like Google Chrome, Safari, or Microsoft Edge.
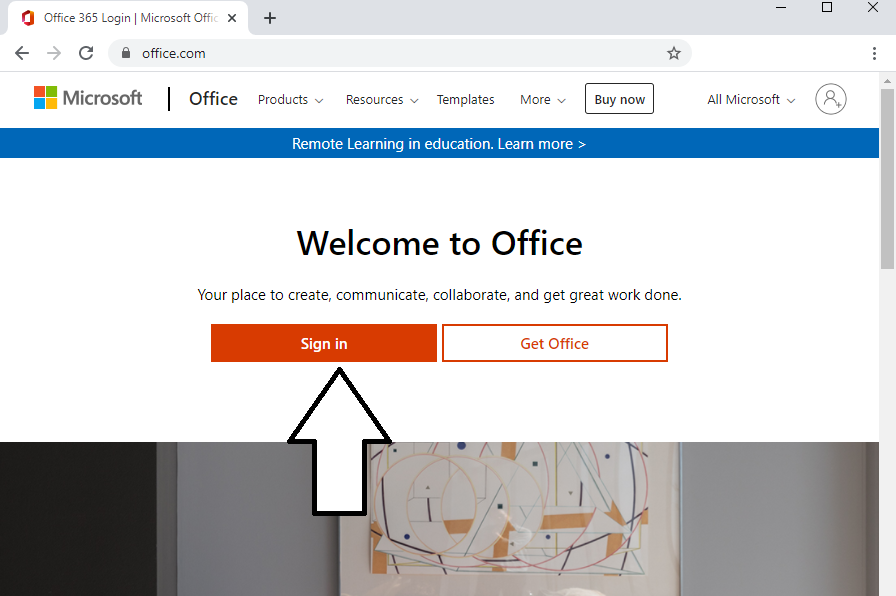
Step 2: Sign in
Click on “Sign in”.
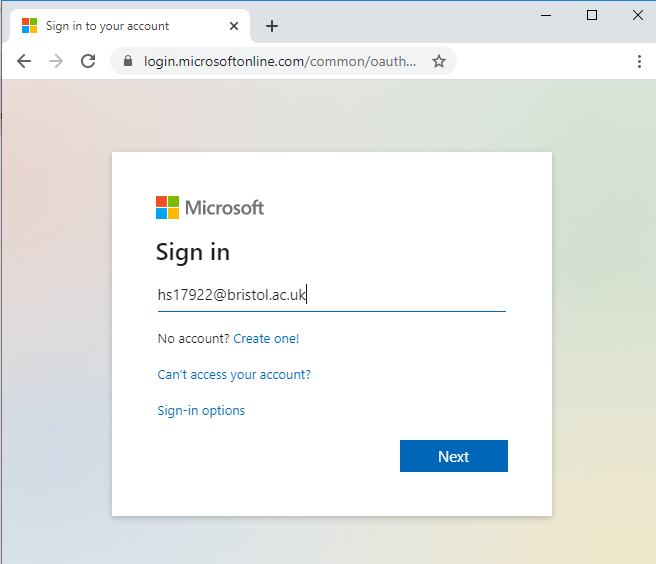
Step 3: Use your university e-mail to log in
Use your University of Bristol e-mail to sign in.
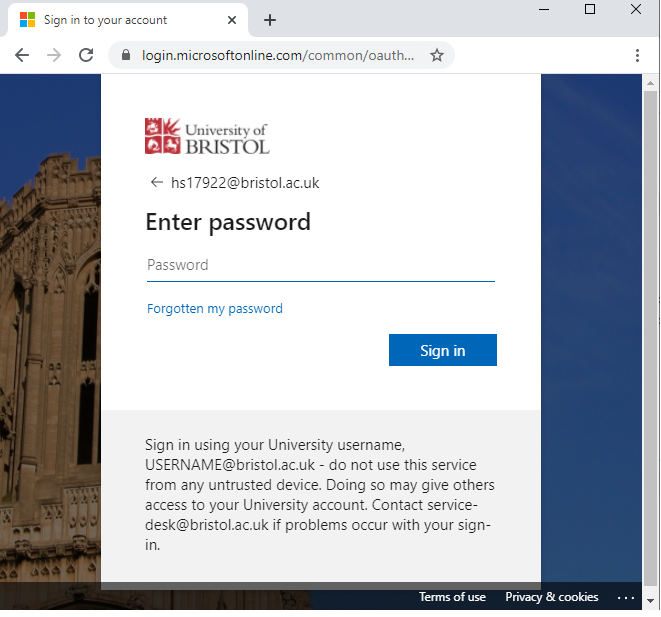
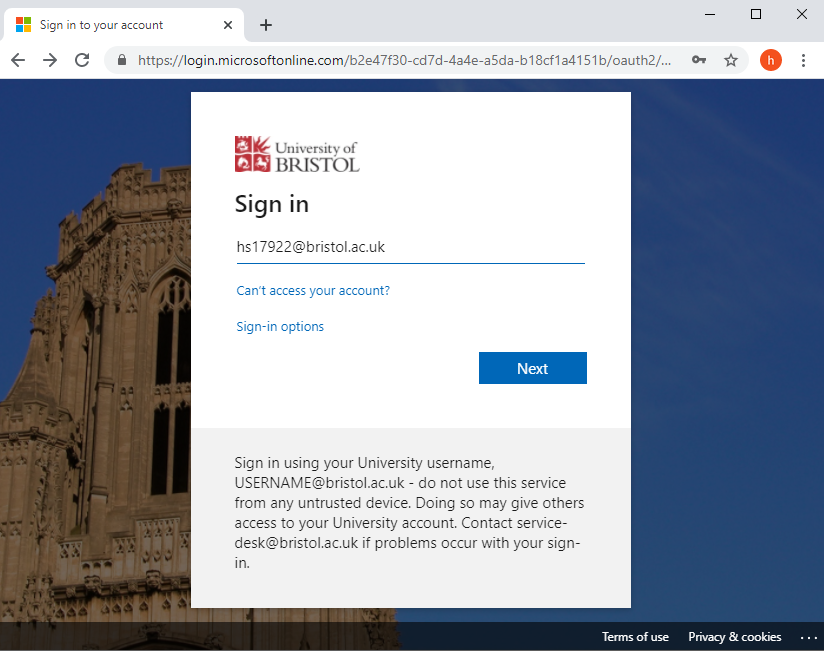
Step 4: Enter your password
You should now see the University of Bristol logo. Use your University of Bristol password to complete the sign-in.
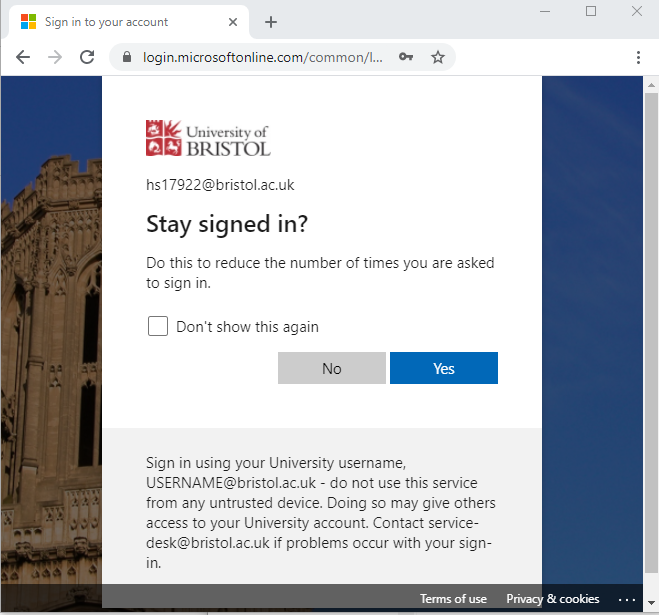
Step 5: Respond to saving details
You will be asked whether you want the browser to remember your username and password. It is highly recommended that you select No if you are using a shared computer.
Step 6: Logged-in
You are now logged in to your University of Bristol office account.
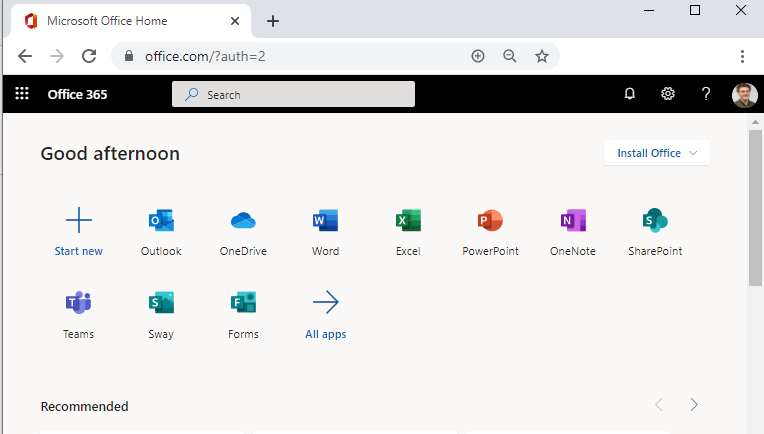
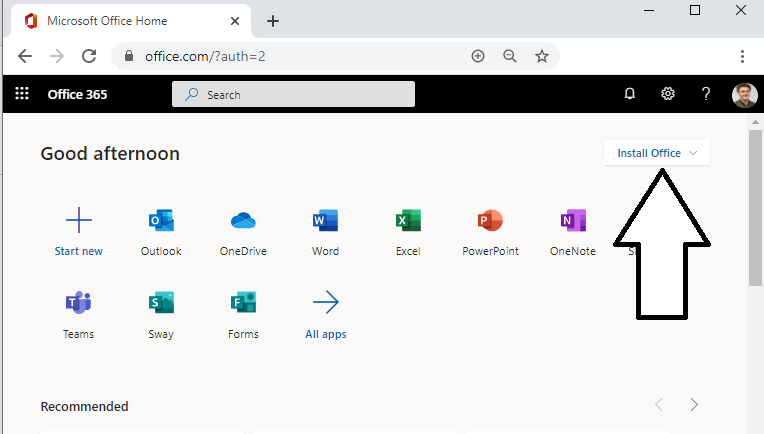
Step 7: Installing Microsoft Ofice
Click “Install Office”
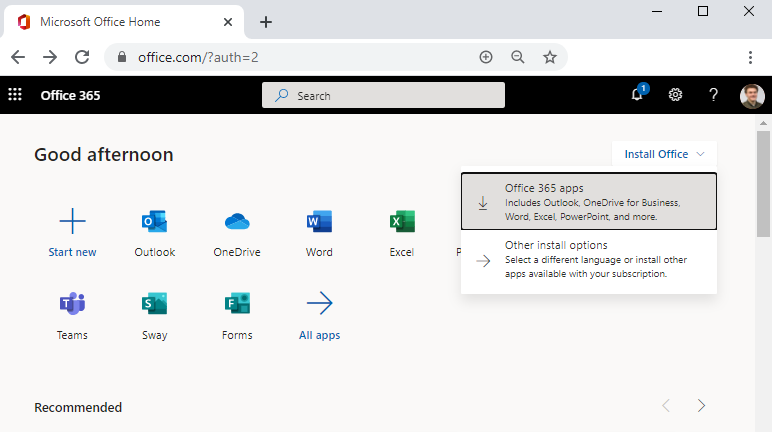
Step 3: Installing Microsoft Ofice
Select Office 365
Step 4: Installing Microsoft Ofice
And follow the instructions to install Microsoft Office (including Excel, Word, and PowerPoint).
2.2 Windows Virtual Desktop
The University of Bristol offers you to access a university computer remotely. Follow the steps below to log on.
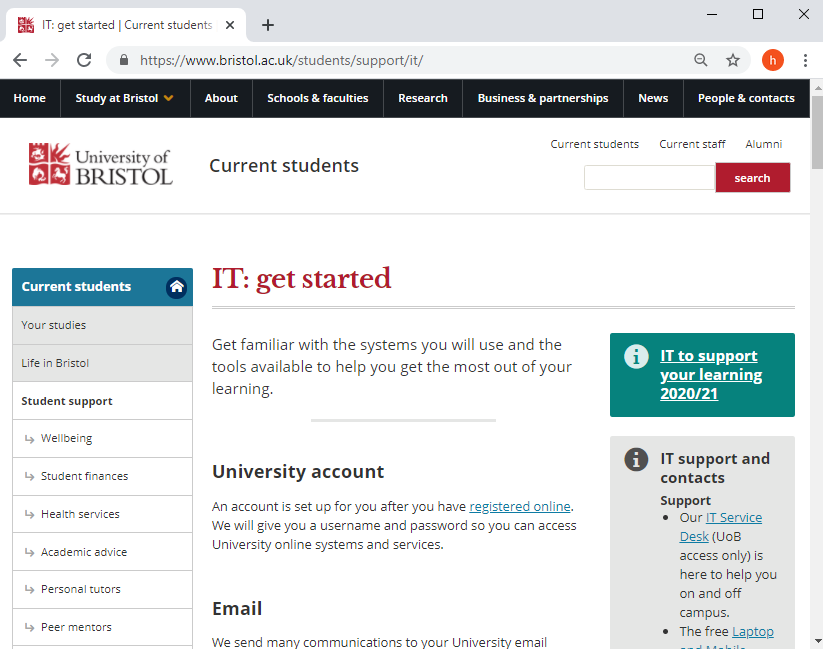
Step 1: Go to UoB IT support
Go to www.bristol.ac.uk/students/support/it/ using a browser like Google Chrome, Safari, or Microsoft Edge.
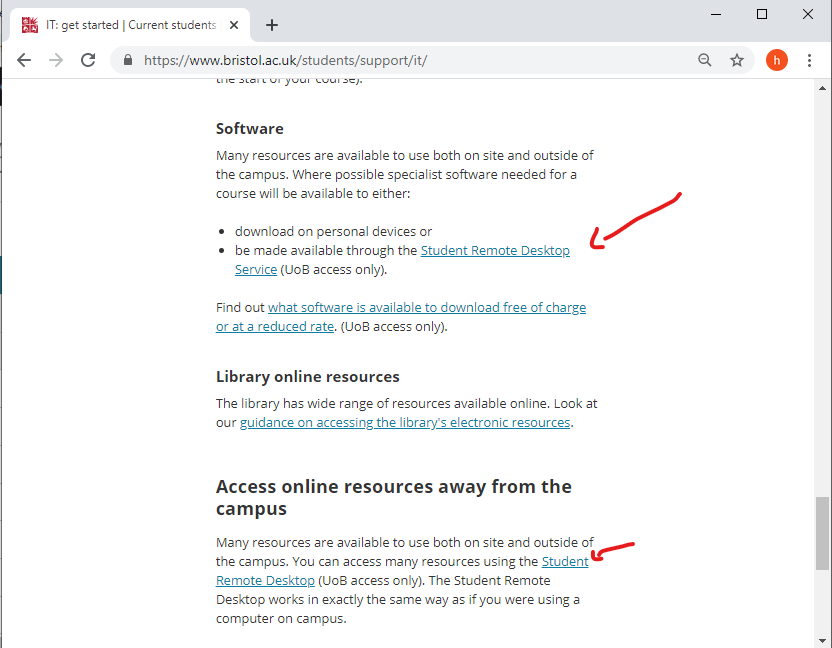
Step 2: Locate the student remote desktop
Scroll to the bottom of the page and find the two (identical) links to the student remote desktop. Click on one of these links (or the link here).
Step 3: Enter your university e-mail address and follow the steps to log in (this process is similar to the process for installing Office, explained above).
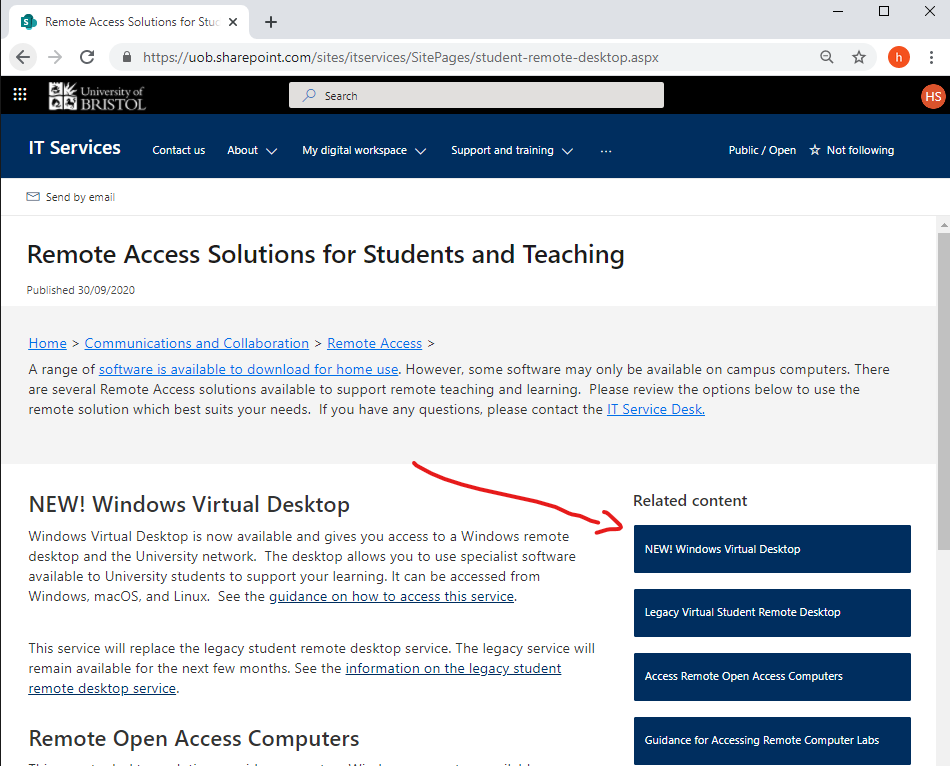
Step 4: “Remote Access Solutions for Students and Teaching”
You should now be at the website called “Remote Access Solutions for Students and Teaching” Click on “Windows Virtual Desktop”
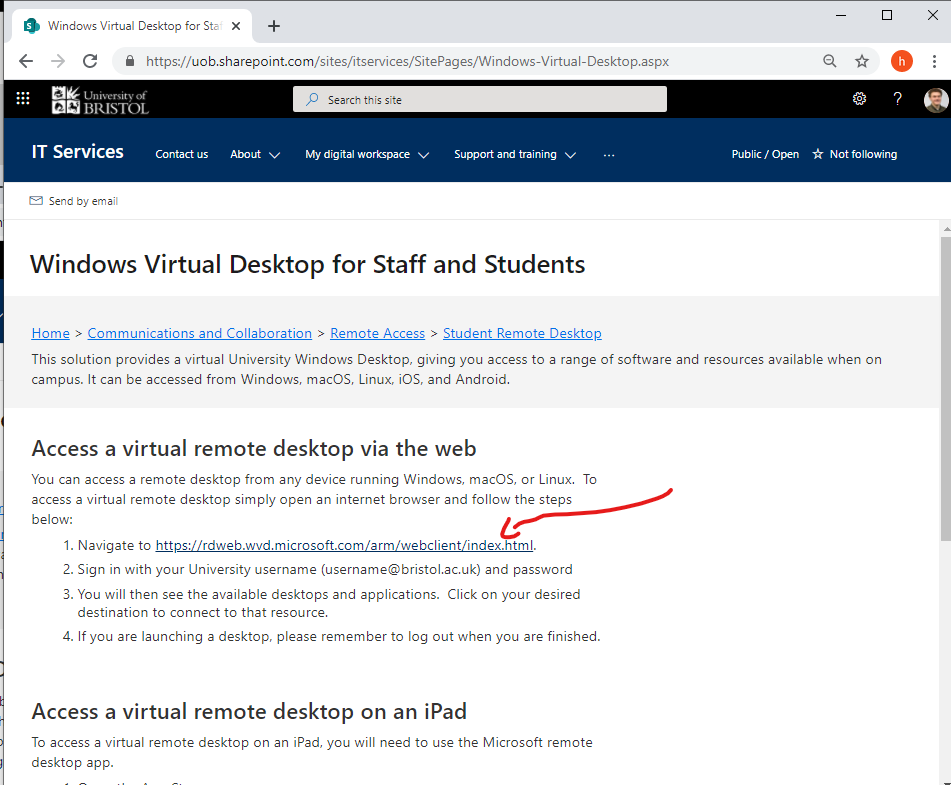
Step 5: Access a virtual remote desktop via the wew
Click on the link to log on to the virtual remote desktop. As you’ve already logged in to your UoB account above, you don’t need to do it again here.
Step 6: Open the virtual desktop
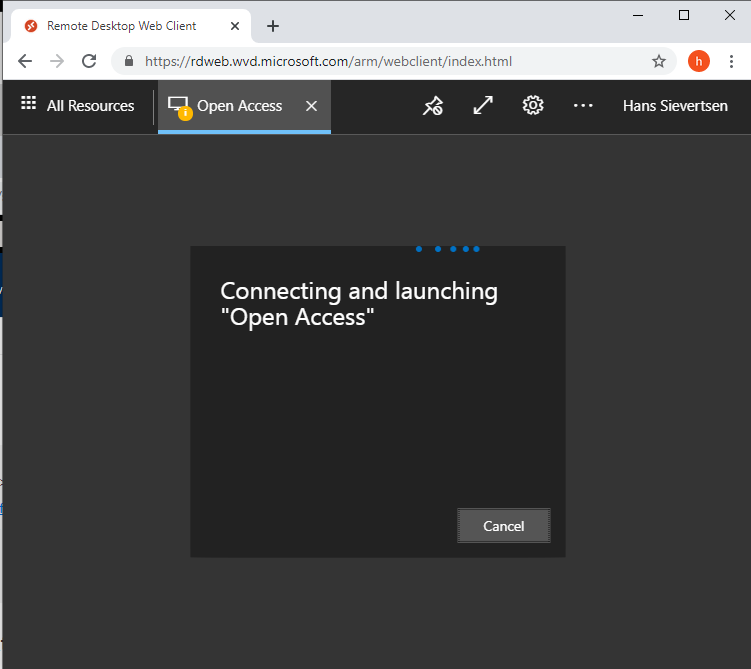
Now click on the “Open Access” Icon.
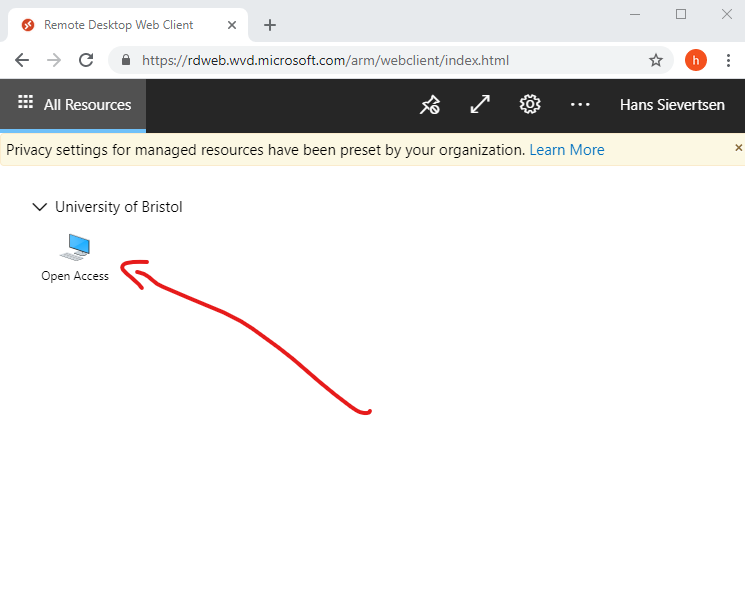
The browser will now open a remote desktop. While it is loading it should look as follows
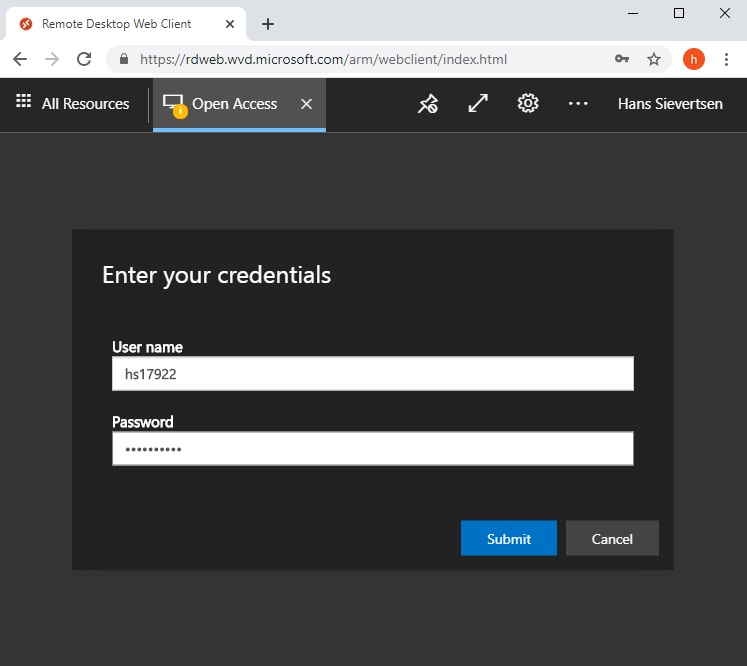
Step 7: Enter your user name and password
Now enter your user name and password. Note depending on how you’ve logged on to the system, you might not be asked about this,
Step 8: You are logged in
You should now see Windows desktop within your bwowser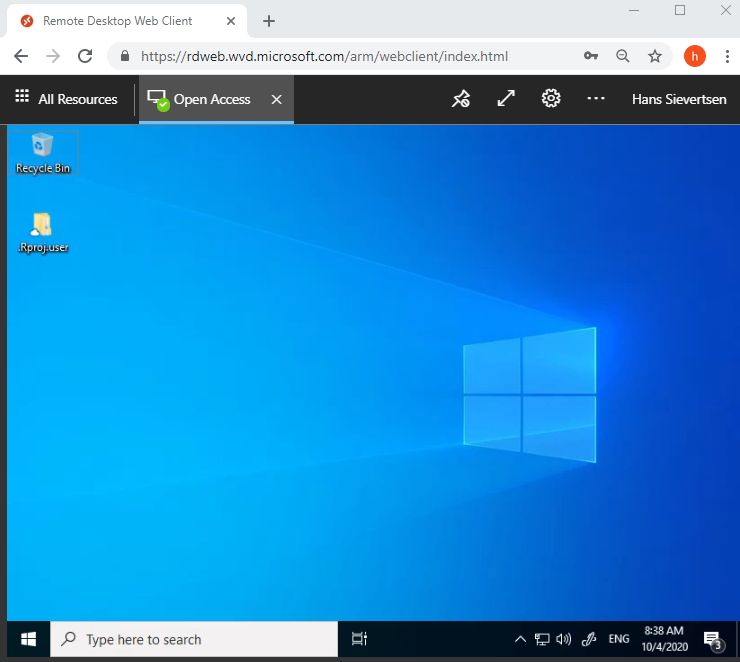
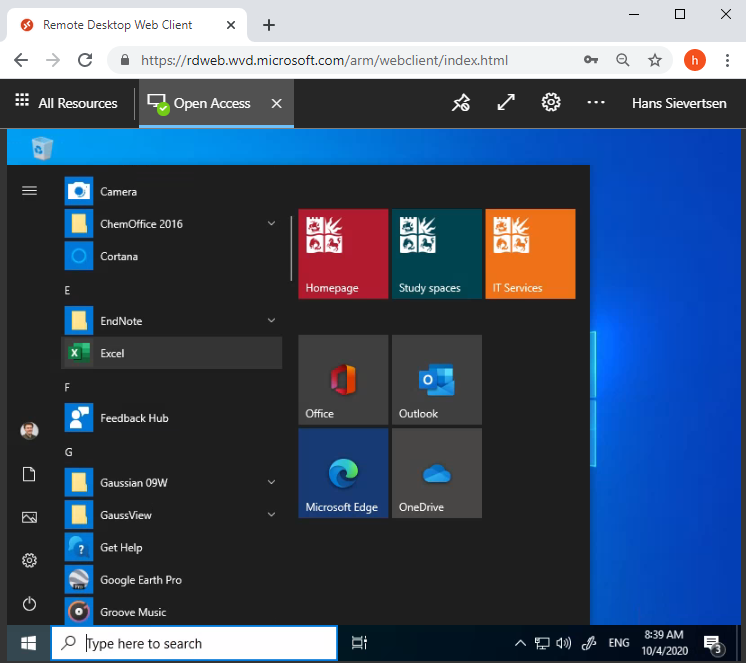
Step 9: You can now use the remote computer
Click on the Windows icon in the lower left corner to open the menu. You can now use the software installed on the UoB desktop.
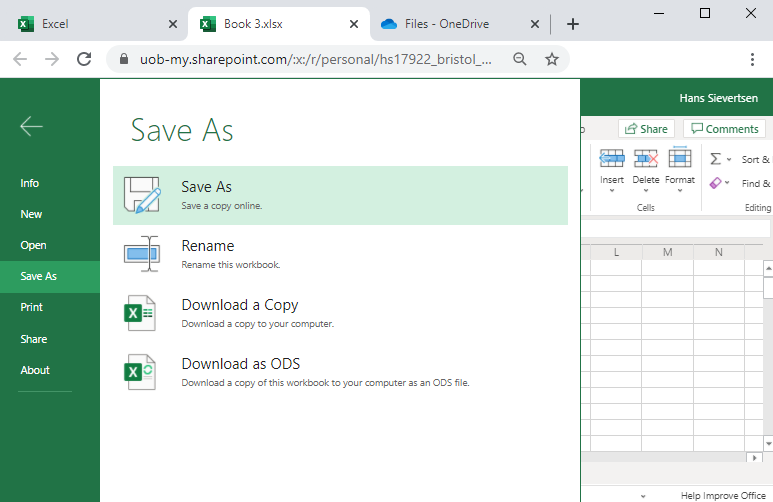
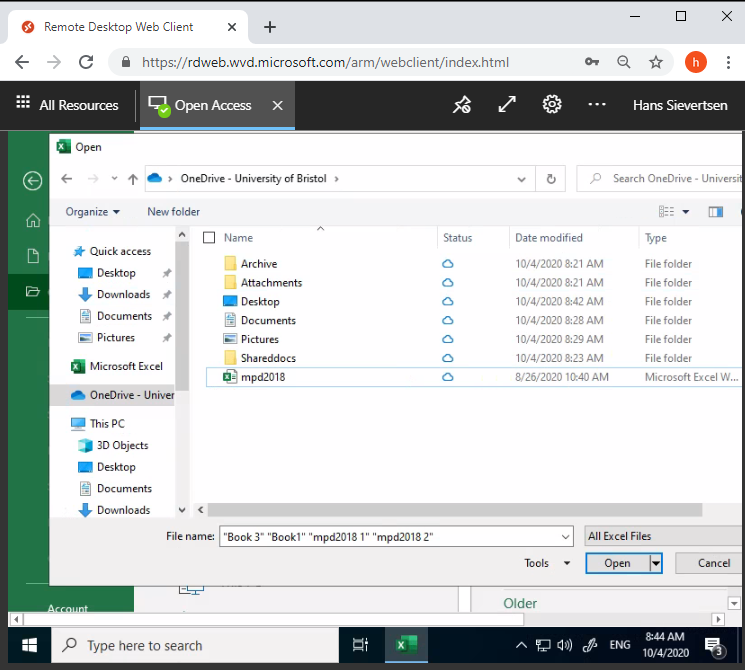
Saving files remotely
Note that since you are working on a UoB computer, you cannot save and create files everywhere. For example, you cannot save files to the desktop. However, you can save files to your University of Bristol “OneDrive” account:
You can also use Internet Explorer or Microsoft Edge within the Windows Virtual Desktop to browse the internet within the browser. If you want to work on a dataset from Eurostat within the Windows Virtual Desktop the easiest way is to access the Eurostat website within the Windows Virtual Desktop and download the data to the virtual drive.
2.3 Microsoft Excel in the cloud
Video guide
Below is a video guide (without sound) on accessing Microsoft Excel in the cloud. You can skip this video if you prefer following the step-by-step guide below.
Step 1: Go to office.com
Go to www.office.com using a browser like Google Chrome, Safari, or Microsoft Edge.
Step 2: Sign in
Click on “Sign in”.
Step 3: Use your university e-mail to log in
Use your University of Bristol e-mail to sign in.
Step 4: Enter your password
You should now see the University of Bristol logo. Use your University of Bristol password to complete the sign-in.
Step 5: Respond to saving details
You will be asked whether you want the browser to remember your username and password. It is highly recommended that you select No if you are using a shared computer.
Step 6: Logged-in
You are now logged in to your University of Bristol office account.
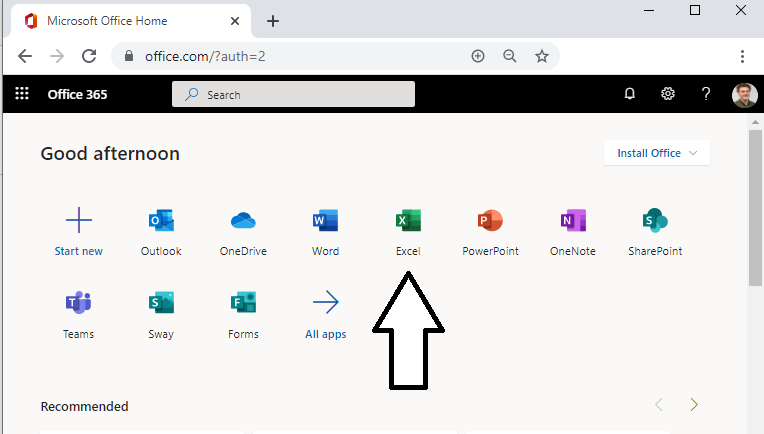
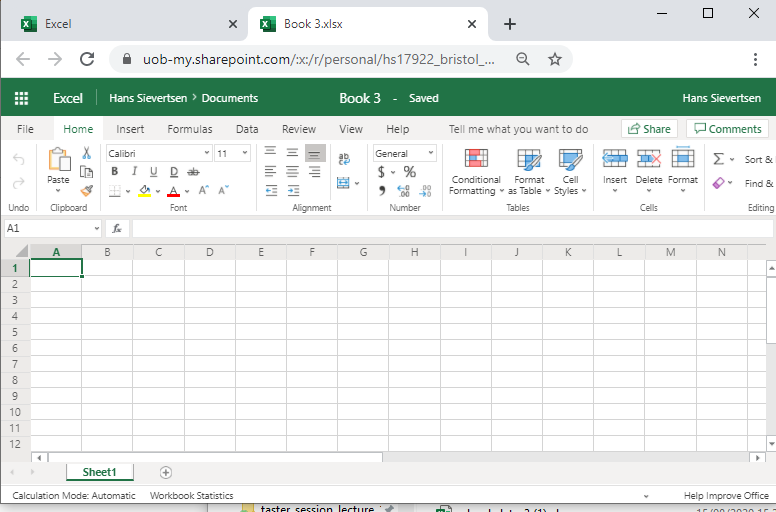
Step 7: Open Excel
Click on the Microsoft Excel icon to start Microsoft Excel in the cloud.
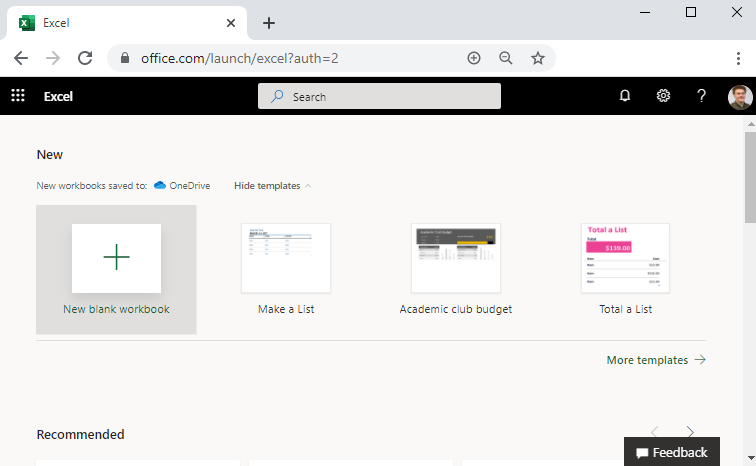
Step 8: Select document
You can now either open a new blank document, open a template, or open an existing document.
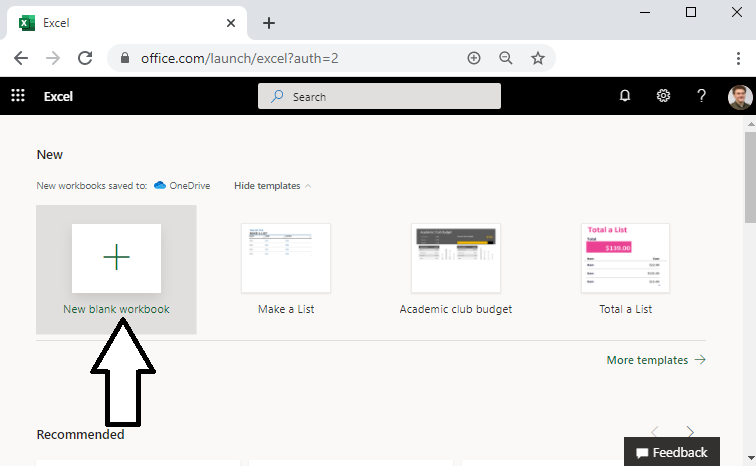
Step 9: Open a new workbook
Select “New blank workbook” to create a new empty Excel document.
Step 10: You have arrived!
Congratulations. You have now opened Microsoft Excel in the cloud and you can start working.
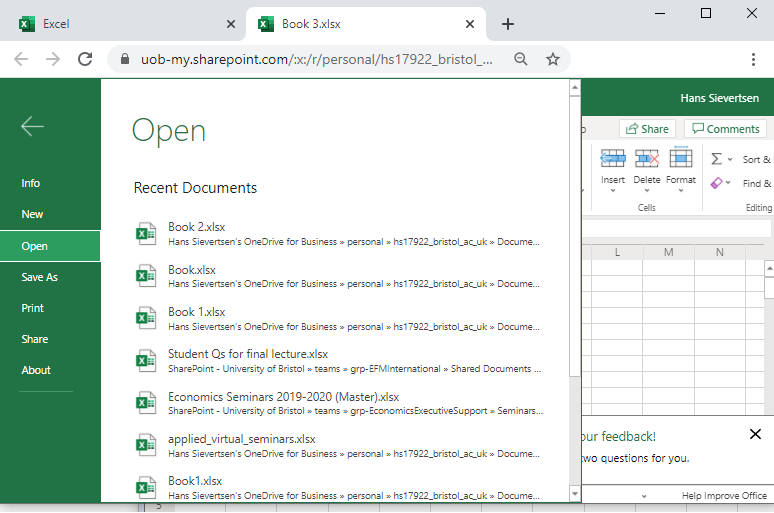
Step 11: Uploading a document.
You might have downloaded a document that you want to open in Microsoft Excel. Because you are working in the cloud, you first have to upload the document to the cloud. Click “File”

Step 12: Uploading a document continued
Once you’ve opened the “File” menu, select “Open”.
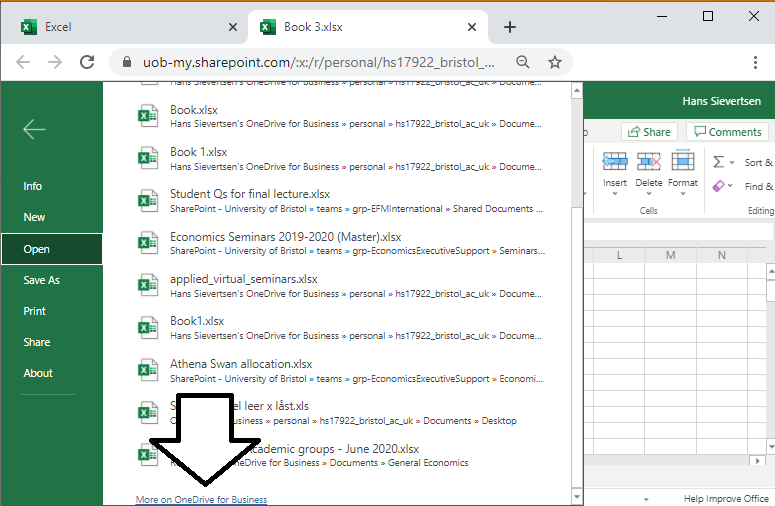
Step 13: Uploading a document continued
Look for “More on OneDrive for Business” at the bottom of the list (you might have to scroll down).
Step 14: Uploading a document continued
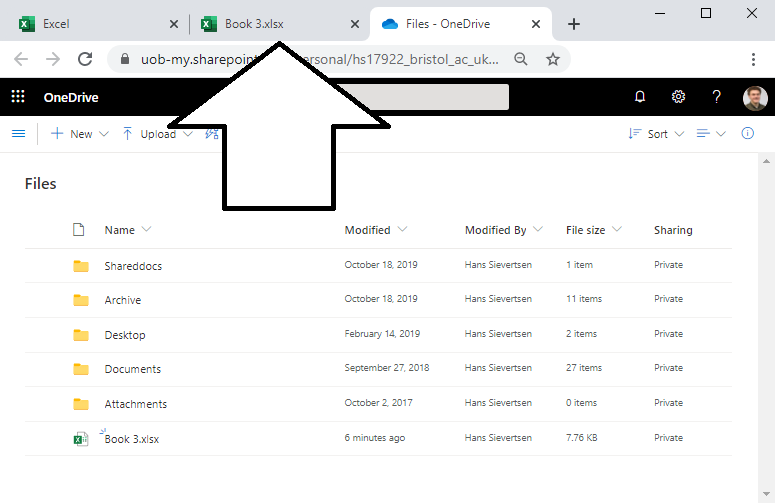
You should now be viewing your University of Bristol OneDrive folder. This is a good place to store files that you want to work on. You can access these files from anywhere and share them with fellow students.
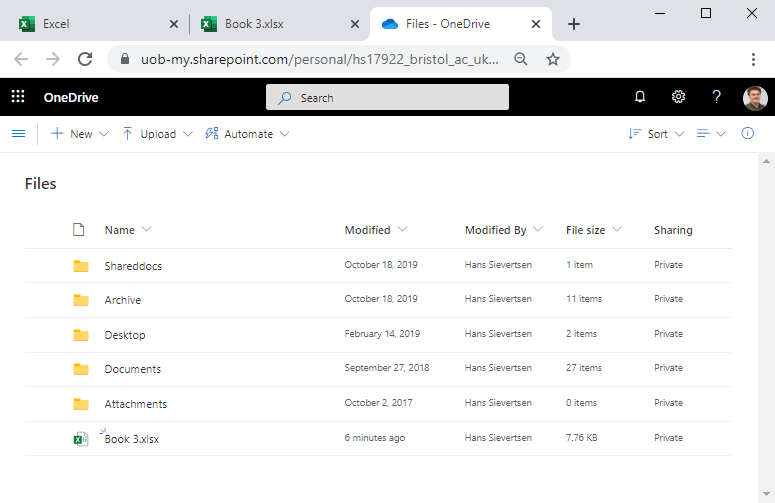
Step 15: Uploading a document continued
Select “Upload” to upload a document from your local computer. After you’ve uploaded the document you should see it in your OneDriver folder. You can then open it by clicking on it.

Step 16: Returning to our Excel document
Note that we can return to our Microsoft Excel document by clicking on the tab.